
· 4 min read
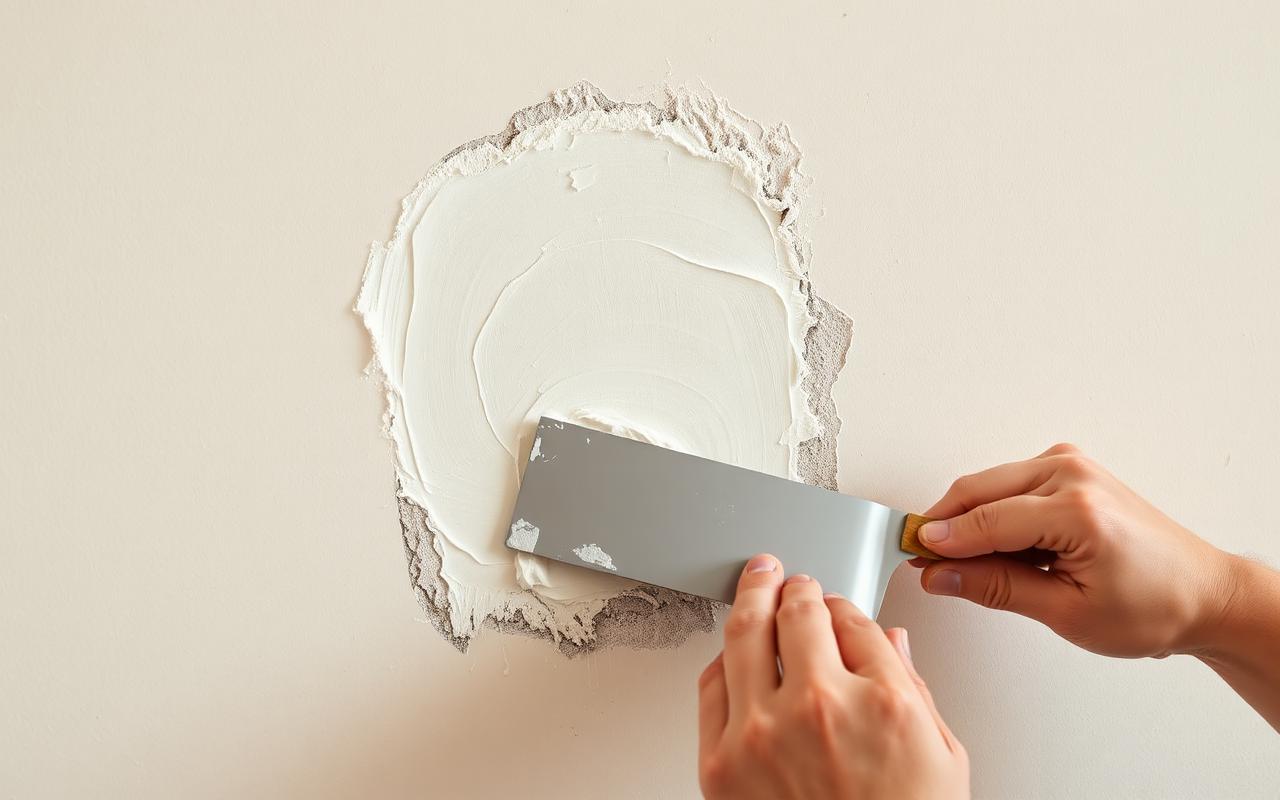
Everyone has seen a bad patch. A slightly raised oval near a light switch, a rectangle on a ceiling that catches the light differently, a hairline that reappears in the same spot every year. Blending is the part of repair work that decides whether you notice it forever.
Start by removing what failed
The first step in any repair is cutting back to sound material. Loose plaster, crumbling edges, water-softened board and old failed patch material all come out. It feels counterintuitive to make the damaged area bigger, but coating over compromised material simply relocates the failure a few months into the future.
Backing and structure
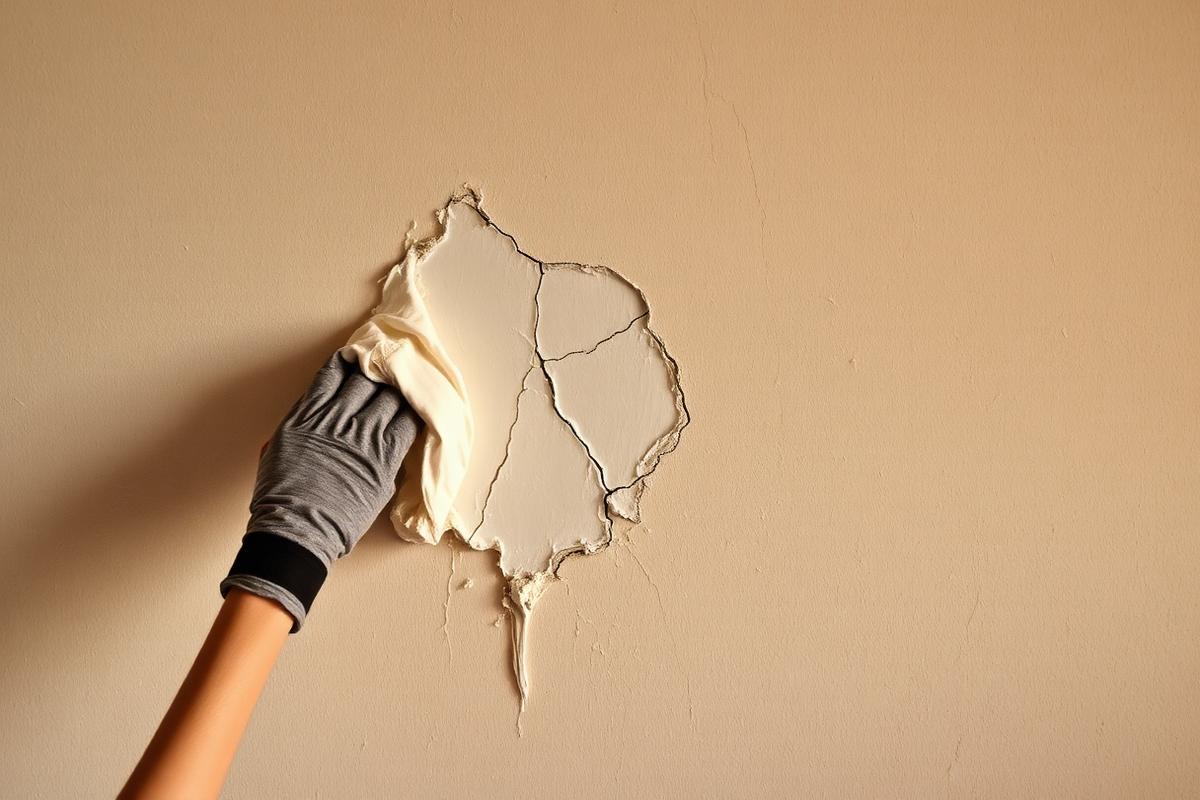
A patch needs something behind it. Depending on the situation that might be new board fastened to framing, backing strips behind the opening, or in old plaster, re-securing the plaster to the lath before filling. Once there is a solid base, the surface work can be permanent rather than cosmetic.
Feathering is where it is won

The visible difference between an amateur and a professional patch is the width of the transition. A patch coated only to the edge of the damage creates a hard boundary. A blended patch is worked outward in progressively wider coats, so the new material tapers to nothing across a wide area.
On a flat wall that transition can be a couple of feet wide for a repair of only a few inches. That seems excessive until you see the wall under side light: the wider and shallower the taper, the less any change in plane registers to the eye.
Working with cracks
Cracks are not all the same. Hairline crazing in an old plaster ceiling is a surface condition. A crack running diagonally from the corner of a door opening usually reflects movement in the structure, and filling it alone means filling it again next season.
Repairs handle the two differently. Surface crazing can be skimmed. Movement cracks are cut out, reinforced across the joint and then coated, so the repair has something holding it together when the building moves again with the seasons.
Texture matching
Where an existing surface has texture, the patch has to carry it. Matching is done by identifying the pattern, testing the technique on a scrap or an inconspicuous area, and applying it so the repair reads continuous with the wall around it. A perfectly smooth patch in the middle of a textured wall is as obvious as a rough one on a smooth wall.
Honest limits
Two conditions make any repair harder to hide: strong raking light, and high-sheen paint. Both amplify small differences in plane and porosity. A repair that is invisible under matte paint in a normally lit room may be faintly detectable on a gloss wall opposite a large window.
Where those conditions exist, the honest options are to widen the blend considerably, or to skim and repaint the full wall to a natural break such as a corner. That will be stated in the estimate rather than discovered afterwards.
Before you request a repair estimate
- —Photograph each damaged area close up, and take one wider shot of the whole wall
- —Take at least one photo with light coming across the surface
- —Note the rough size of the damage
- —Confirm whether the cause of any water damage has been fixed
- —Mention the paint sheen if you know it
With that, a repair can usually be scoped accurately before the first visit.