
Process
How a project runs
Three steps, no surprises: send the project, review a free estimate, then preparation and finishing.

Send the project
Start with photos of the walls or ceilings, rough sizes or room dimensions, the town and state, and a short description of the result you want. For new work, plans or a sketch help. For repairs, take one close photo of the damage and one wider shot of the room.
- —Photos taken with light across the surface show texture best
- —Say whether the space is residential or commercial
- —Mention any deadline you are working towards

Review the estimate
Estimates are free and written for the actual project, not taken from a price list. The scope is described in plain language so you can see what is included before anything starts, and questions are welcome before you decide.
- —Scope written in plain English
- —Questions answered before work is booked
- —Insurance details available for contractors and property managers
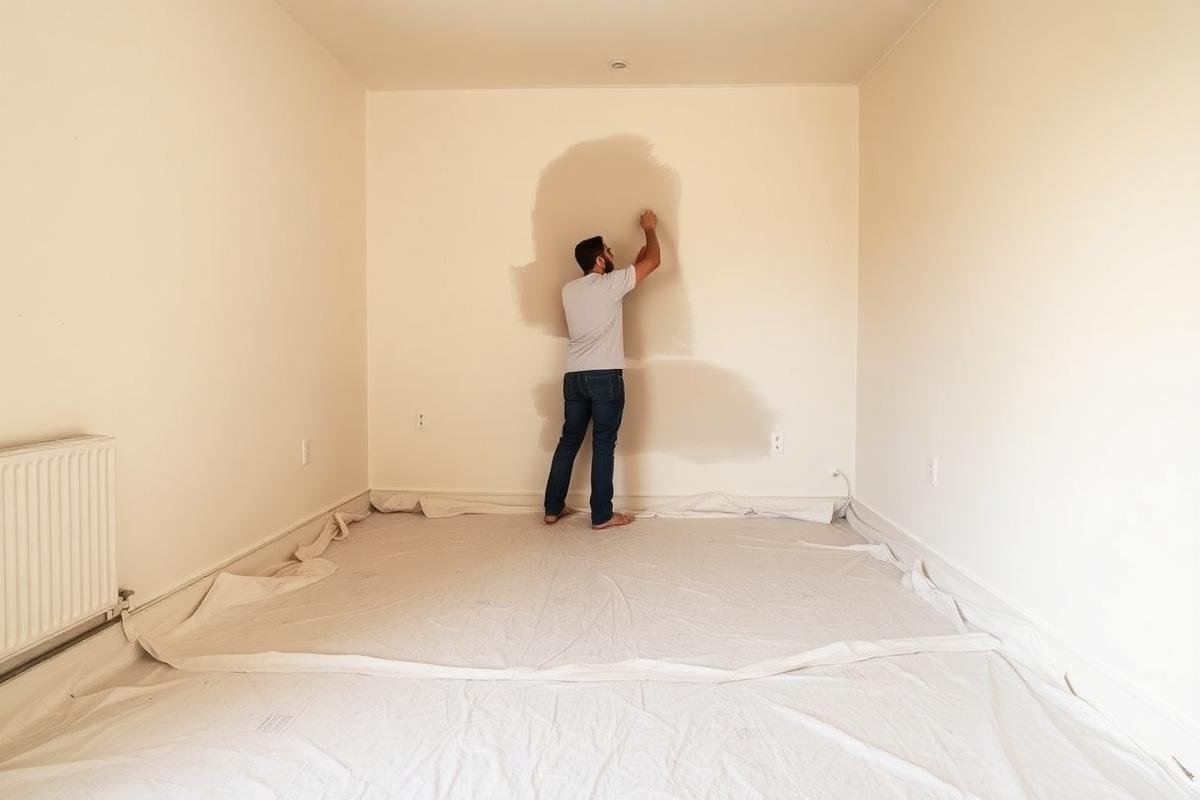
Prepare and finish
Floors and openings are protected before work begins. Surfaces are prepared, the plaster or drywall work is carried out, and the area is cleaned before it is handed back ready for primer and paint.
- —Protection of floors, trim and openings
- —Work carried out to the agreed scope
- —Clean up before the space is handed back
Ready for a straight answer on your walls?
Send photos and a short description. Estimates are free and specific to your actual project.